How to Cut the Trending Broken Fringe
Published date 14 August 2025
Meet the haircut that's taking over Curtain Bangs
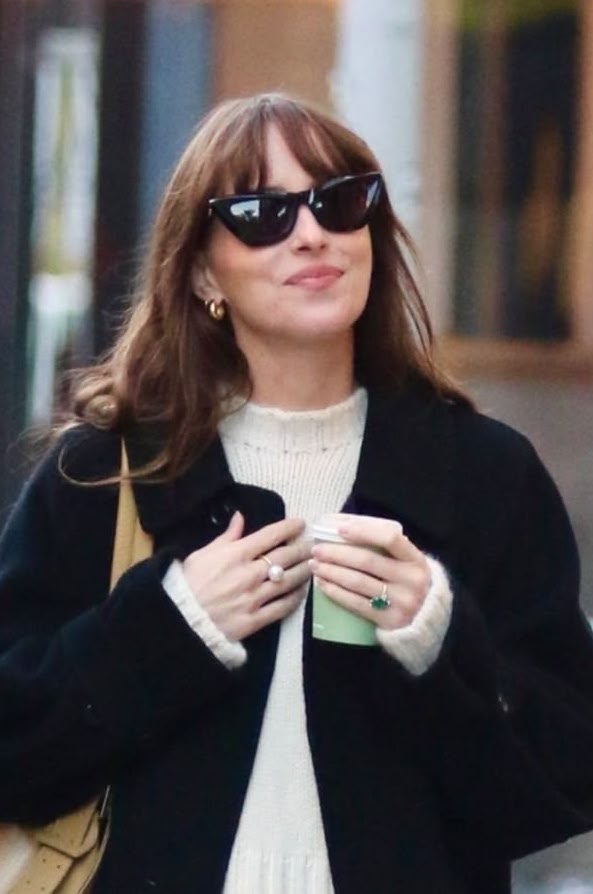

Move over curtain bangs, there’s a fresh fringe on the block. Set to be the next salon favourite, the Broken Fringe is an ultra-choppy, lived-in, edgy fringe inspired by the likes of Dakota Johnson, Alison Brie, and Daisy Edgar-Jones. This style can be grungy, messy or sleek and glossy, so no matter your client's vibe, the Broken Fringe is flattering for everyone.
With soft, feathered edges that don’t cut too deep into the temples, the Broken Fringe is flattering for almost every face shape and works across a variety of hair textures. With a subtle 70s influence, it gives a timeless but modern look, which clients have been loving recently. While tempting, it’s important that clients do not attempt this cut as their own DIY project. This one is for the pros, and the pros only, so your clients will need you for regular trims to keep it looking sharp. We teamed up with our Alan Howard Educator, Sara Simpson, on how to achieve the Broken Fringe with clients, as well as why it will work for most of your clients.
How To Cut The Broken Fringe
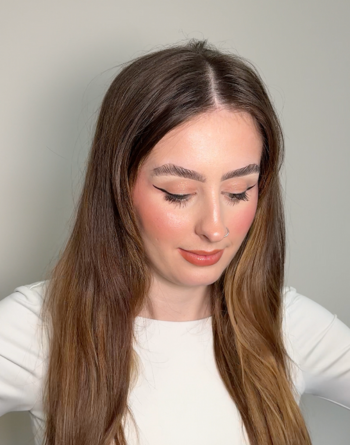
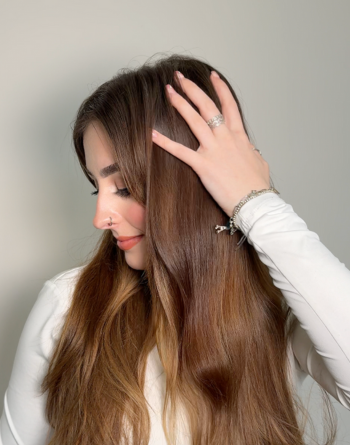
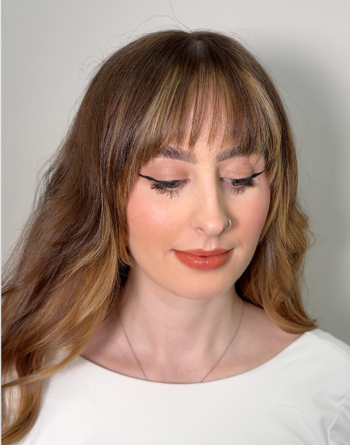
Our model started with grown-out bangs, which Sara will be taking off length and re-shaping into the Broken Fringe look.
1. Start in the centre
Taking your Alfa Italia Platino 6.5” scissors, start in the centre of your client's fringe. Begin cutting between the eyebrows, taking the middle section of the fringe slightly shorter to create that signature shape.
Sara’s Expert Tip: “The Alfa Italia Platino 6.5” scissors are my favourite scissors when needing to be precise with my cut, as well as when needing to add volume and texture to a client's cut.”
2. Work at a 45° angle
With neat sectioning and consistent tension, pull the hair out at a 45° angle, and begin cutting.
3. Overdirect each segment of hair
Taking your next section, overdirect the hair into the middle, maintaining that same 45° angle. This retains length towards the outer edges while creating a slight curve around the eye socket.
4. Repeat across the fringe
Continue this process until you’ve worked through the entire fringe section.
5. Blend into the sides
Soften the transition into the face-framing layers with a gentle feathering technique. This adds movement and ensures the fringe looks stunning even when the hair is tied back.
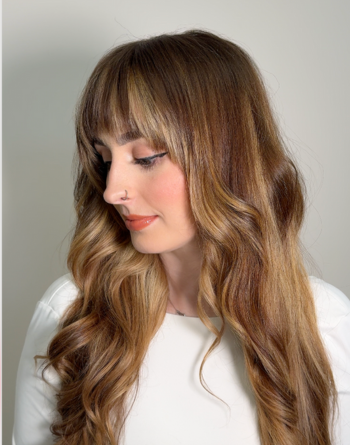
6. Styling & Maintaining
The Broken Fringe looks equally as good either tousled for that off-duty look, or styled sleek with a styler for a more polished finish. In terms of maintenance, Sara recommends that clients book trims every 4-6 weeks to keep the length and shape on point!
Why Choose A Broken Fringe?
- It's super flattering
The shorter centre of the fringe paired with the slightly long edges draws attention to the client's eyes and cheekbones, which helps open up the face. The subtle curve at the edges creates a soft frame that works with almost all face shapes!
- Customisable to your client's preference
This fringe can be styled to suit any type of vibe. If your clients prefer a tousled, textured finish that gives an undone, cool-girl look, this is totally doable with the Broken Fringe. Or, if your clients prefer a sleek, glossy blow-dry that’s more polished, the Broken Fringe can achieve exactly that!
- Versatile for all hair types
We love a versatile hairstyle! Whether your clients have fine strands that need some texture or thicker strands that benefit from some weight removal, the Broken Fringe can be adapted to work with the hair's natural movement and density.
- Low commitment
As this fringe blends seamlessly into the sides, it grows out naturally without creating any harsh lines. This makes it ideal for the client who wants a fresh look without the awkward grown-out stage!
Introduce the Broken Fringe to your clients who are looking for something different with their everyday look, and transform their look to something edgy, wearable, and super on-trend!
Comments
There are currently no comments, be the first to comment.