




Highlights VS Lowlights: What’s the difference?
Published date 08 October 2026
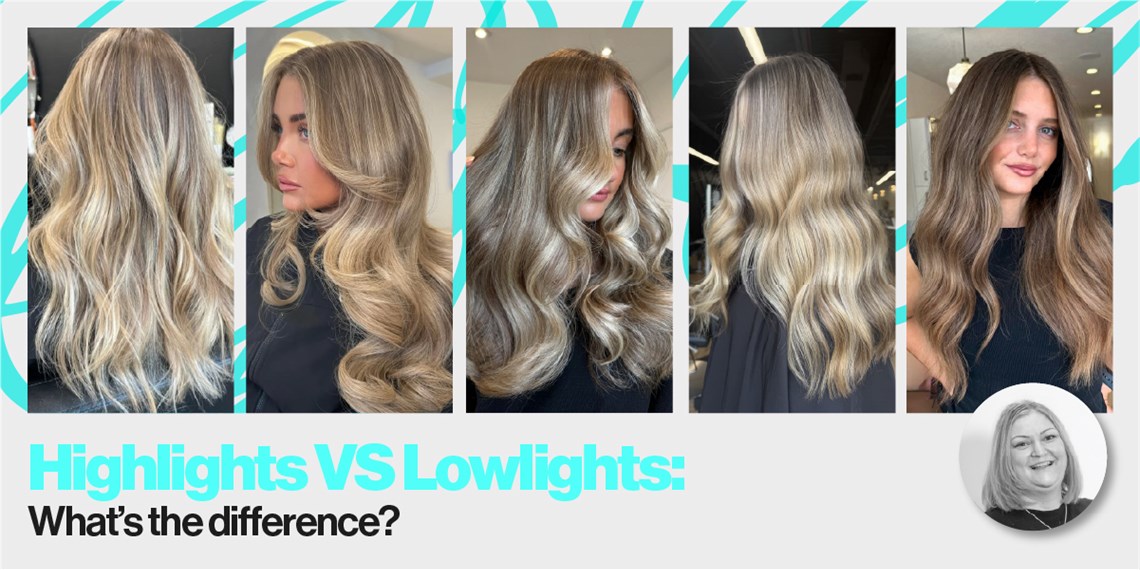
When creating dimensional colour in the salon, highlights and lowlights are two of the most versatile techniques in a hair colourist’s toolkit. While one adds lightness and the other introduces depth, both can be used to create contrast and movement for a more multi-dimensional finish. In collaboration with Quif Educator, Sara Simpson, we’ve broken down the key differences between highlights and lowlights and the techniques to use when you’re getting creative behind the chair.
What Are Highlights?
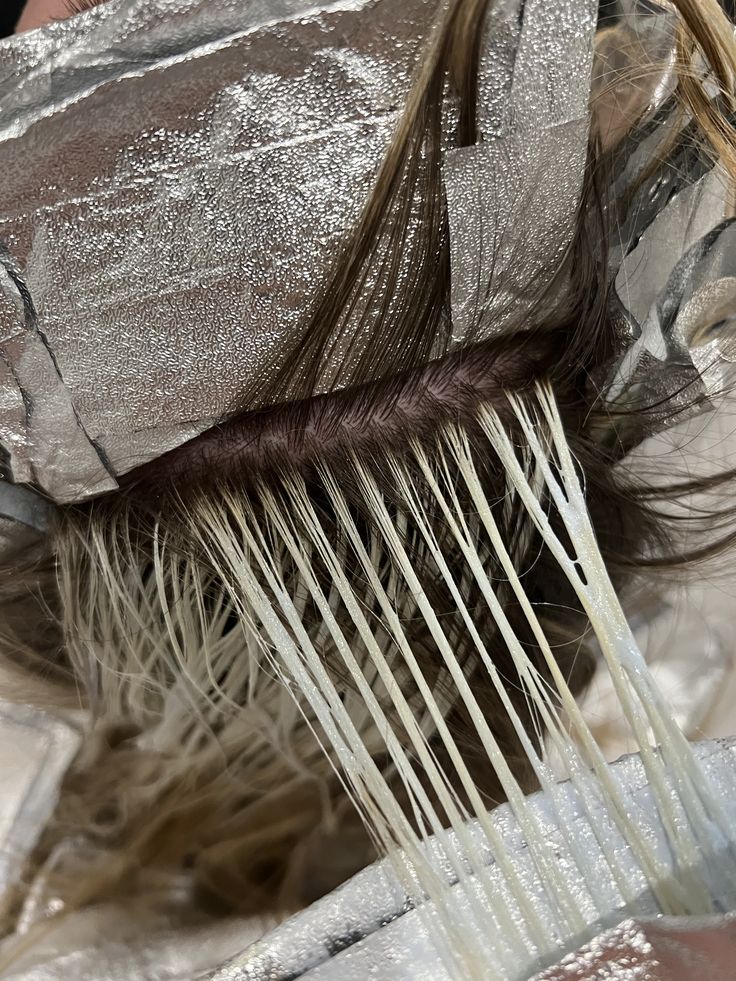
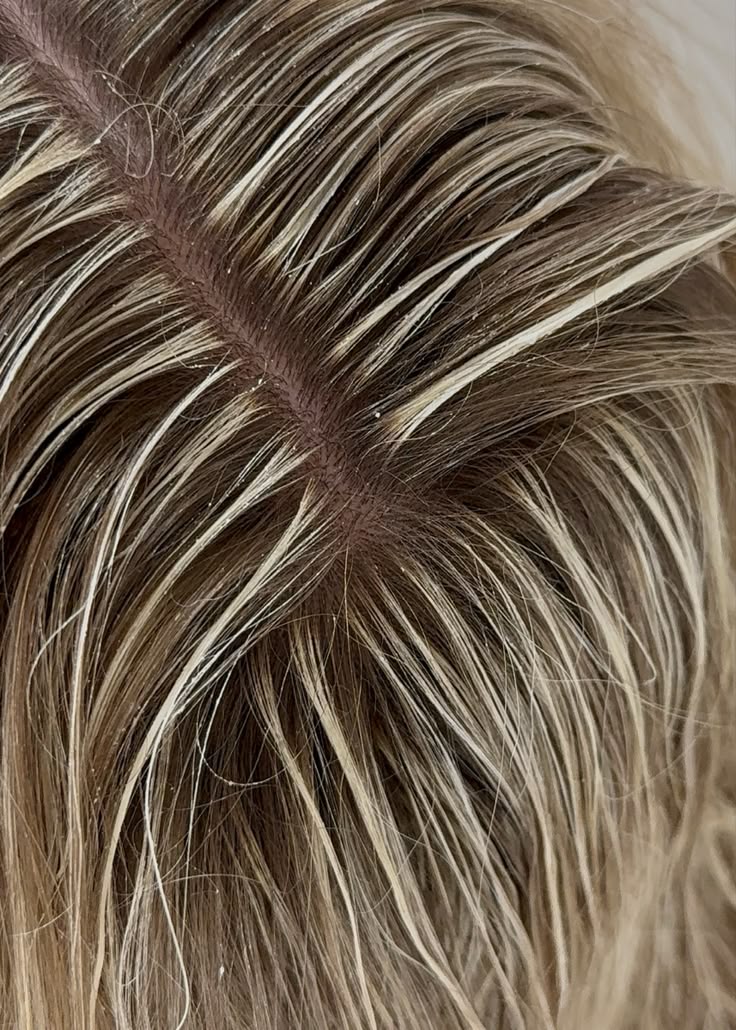
Highlights are a technique where selected sections of the hair are lightened to create contrast, brightness and, of course, dimension. Highlights can be used to subtly brighten a client’s overall colour without taking them fully blonde, creating a sun-kissed finish or to gradually introduce the client into lighter tones if they have darker hair. Sara also tells us, “Highlights can be particularly useful for grey blending, where strategically placed lighter pieces can soften the contrast between grey and the natural base.”
What Are Lowlights?
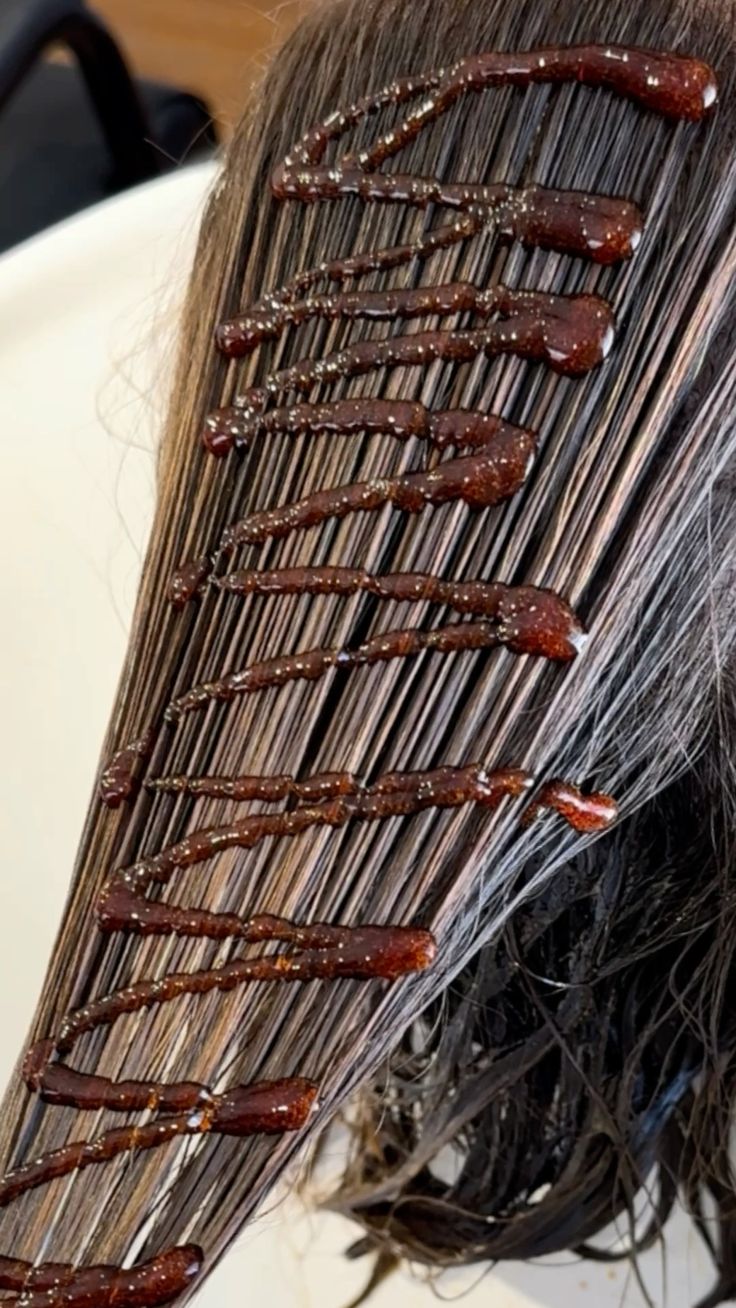
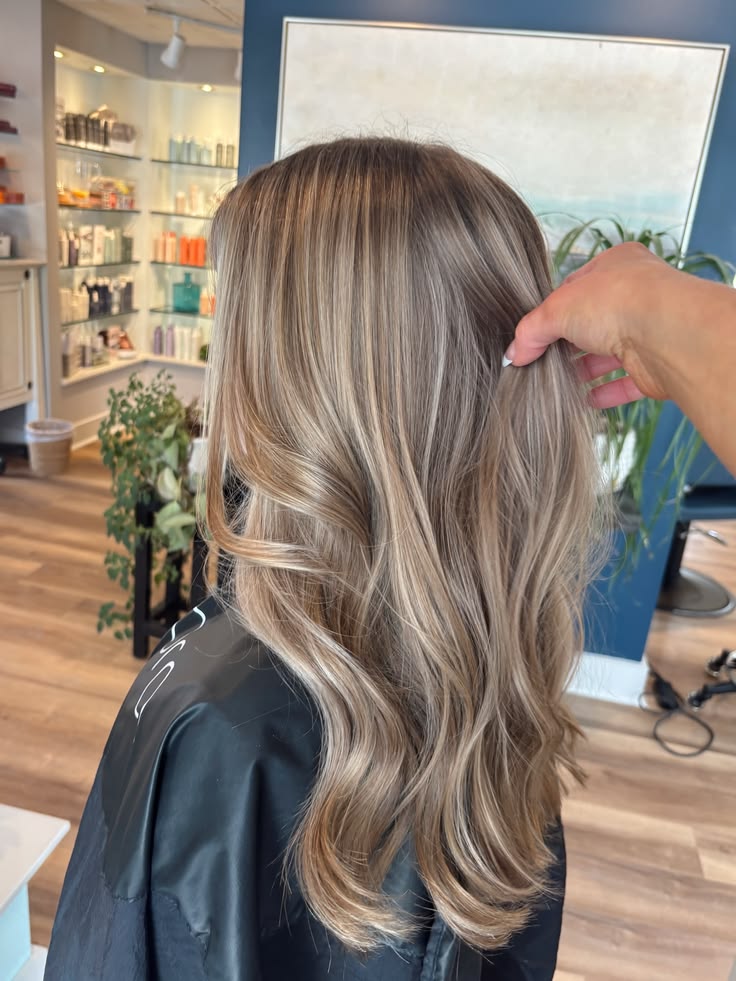
So, now we know highlights introduce lightness; lowlights are for bringing depth back into the hair. A lowlight involves selecting sections of hair and colouring them darker than the existing base or previously lightened pieces. Lowlights are particularly useful when colour has become too light, flat or lacking contrast. Sara suggests, “For blondes, adding lowlights can break up an over-highlighted result and bring back some of the natural variation that makes hair look dimensional.”
What Makes Them Different?
The simplest way to remember the difference between highlights and lowlights is…
- Highlights = lightness
- Lowlights = depth
But both have the same goal. Creating dimension, contrast, and movement. It’s also worth remembering that neither technique needs to be dramatic. The result can be as subtle or high-contrast as the client’s desired look and the technique you choose.
Choosing The Right Technique
The technique you use will depend on the amount of hair selected and the finish you’re looking to create. Small changes in section size and placement can completely change the result!
- Weaving = softer results
Weaving involves taking a fine section and selectively picking up strands of hair. It’s the perfect technique when you’re looking for a softer, more blended result, creating subtle ribbons of light or depth.
- Slicing = bold results
For a stronger statement, slicing takes larger, solid sections of hair. This creates a more noticeable contrast and is particularly effective when a client wants their colour to feel bolder.
- Babylights = delicate results
Babylights use extremely fine sections to create delicate, natural-looking brightness. They’re ideal when the goal is a soft, subtle result that mimics the appearance of naturally lightened hair.
- Teasing/Backcombing = diffused results
Teasing the section before applying colour creates a diffused transition between the coloured and uncoloured hair. This can help create a softer, lived-in result, with less obvious line of demarcation.
- Balayage/Freehand = graduated results
Freehand techniques allow you to place colour exactly where it’s needed, creating a gradual effect through the hair. They’re particularly useful for personalised placement and creating a more natural-looking distribution of lightness.
- Panelling = high-contrast results
For clients who want a more striking result, panelling (also known as chunking) creates larger areas of colour and higher contrast. These techniques can be used to make a statement or accentuate specific areas of the haircut.
Why Use Highlights On A Client?
Highlights are the perfect option when your clients want to brighten up their overall colour without committing to being fully blonde. Highlights can be used to:
- Create a more natural, sun-kissed finish
- Add brightness to a darker base
- Introduce lighter pieces gradually
- Create contrast
- Help blend greys
- Create a gradual transition towards a lighter colour
The key to understanding highlights is that it doesn’t mean having to go blonde. Choosing the right placement can give a client just the right amount of brightness while keeping the overall colour natural and wearable.
When Should I Add Lowlights?
We know that lowlights are added when the hair is lacking depth, richness or contrast. So, they’re particularly useful for blondes whose colour has become flat or overly highlighted. Adding darker pieces can break up the overall lightness and restore dimension without completely changing the client’s colour.
They're also a great option when a client wants to start transitioning darker. Rather than making a dramatic change in one appointment, strategically placed lowlights can gradually introduce depth while keeping the result dimensional. And for clients looking for a more low-maintenance colour, reducing the amount of lightness throughout the hair can help create a softer grow-out.
Sara’s Top Tips For Creating Highlights & Lowlights
It’s not just about choosing the right technique, it’s also about placement. Before picking up your tube of colour, think about where your highlights or lowlights will sit within the overall shape. Consider the client’s haircut, face shape and natural movement, and how your placement can complement these rather than working against them.
Sara also recommends making sure the colour is saturated evenly throughout each section to achieve consistent results. And, importantly, avoid overlapping previously lightened hair. Reapplying the lightener over already lightened sections can weaken the hair, so thoughtful sectioning and placement are essential for maintaining the condition of the hair.
Let’s Recap...
Highlights and lowlights might do opposite things, but they’re both powerful techniques for creating dimensional hair for your client. So, if your clients want to add brightness to a darker base, or want to bring depth back into an overly-lightened blonde, the right combination of technique and placement can completely transform the result.
Remember! It’s not just about lightness and darkness. Think about where the colour sits, how it works with the client's haircut, and how it will look once grown out.
Comments
There are currently no comments, be the first to comment.